-
Merit Badges
- Legend to identify Merit Badges
- 1910 British Merit Badges
- Square 1911 - 33
- Wide Crimped 1934 & 35
-
Narrow Tan Crimped 1936 - 42
- Tan Heavyweight Cloth with Silk Embroidery and Printed Back 1936 - 37
- Tan Heavyweight Cloth with Silk Embroidery and Plain Back 1937 - 38
- Tan Lightweight Cloth with Silk Embroidery and Plain Back 1938 - 39
- Tan Lightweight Cloth with Cotton Continuous Loop Embroidery and Plain Back 1939 - 42
- Tan Lightweight Cloth with Cotton Lockstitch Embroidery and Plain Back 1939 - 42
- Blue Background 1942 - 46
- Wartime 1942 - 46
- Khaki Narrow Crimped 1946 - 59
- Green Twill Gauze Back 1960 - 68
- Fully Embroidered Merrowed Edge 1960 - 72
- Unprinted Plastic Back 1972 - 01
- Printed Plastic Back 2002 - Current
-
Merit Badge Paper
- Merit Badge Applications
- Merit Badge Cards
-
Merit Badge Pamphlets
- Type 1 White Cover - Rectangle Drawing On Cover
- Type 2 White Cover 5-375" x 8" Title at Top
- Type 3A Tan Cover - 200 Fifth Avenue
- Type 3B Tan Cover - 2 line address New York City
- Type 3C Tan Cover - 2 line address New York N.Y.
- Type 3D Tan Cover - 1 line address New York N.Y.
- Type 4 Standing Scout Cover
- Type 5A War Cover
- Type 5B Red and White
- Type 6 Photo-Red Cover
- Type 7 Full Photo Cover or Bulls-eye Cover
- Type 8 Full Photo - Green Stripe Cover
- Type 9 Full Photo - Red Stripe Cover
- Type 10A Blue Stripe - Logo above bottom blue stripe - FDL centered
- Type 10B - Blue Stripe in bottom of photo area. FDL to left of text
- Special Covers
- Boy Craft Helps
- Merit Badge Counselor's Guides
-
Youth Position
- Junior Assistant Scoutmaster
- Senior Patrol Leader
- Assistant Senior Patrol Leader
- Patrol Leader
- Assistant Patrol Leader
- Troop Guide
- Scribe
- Quartermaster
- Instructor
- Chaplain Aide
- Den Chief
- Librarian
- Musician
- Webmaster
- Bugler
- Troop Historian
- Troop Representative
- Unit Representative
- Leadership Corps
- Honor Guard
- Leave No Trace Trainer
- Outdoor Ethics Guide
-
Patrol Medallions
- Patrol Medallions Introduction
- Legend to identify Patrol Medallions
- Patrol Shoulder Knot-Ribbons
- Felt Handmade Patrol Medallions
- Square Felt Patrol Medallions
- Round Broadcloth Patrol Medallions
- Red Twill Patrol Medallions
- Multi-Color Cloth Patrol Medallions
- Tan Cloth Patrol Medallions
- Patrol Medallion Back Patches
- Woodbadge Patrol Medallion
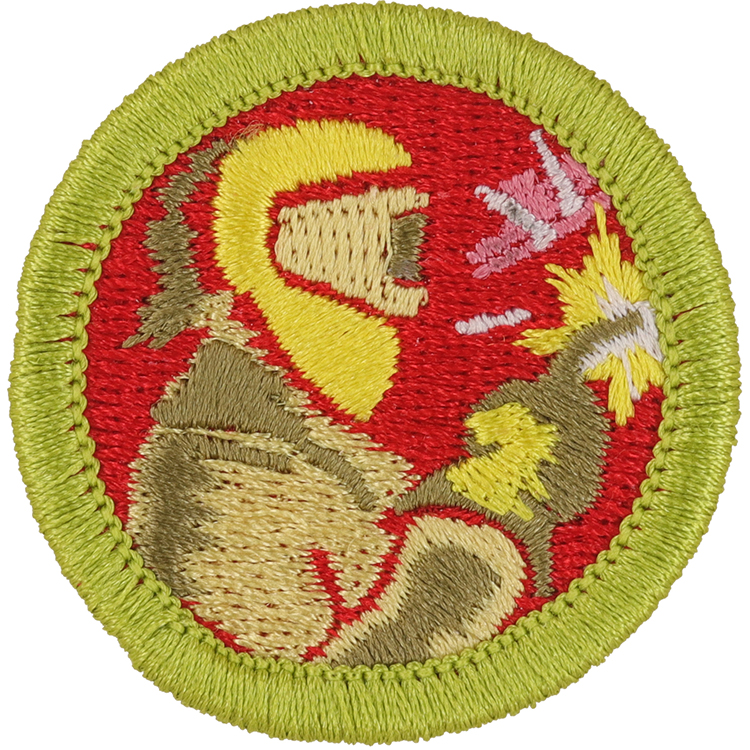
Fig. 1: Weldin-L1-Front
- Embroidery: Rayon thread
- Border: Merrowed
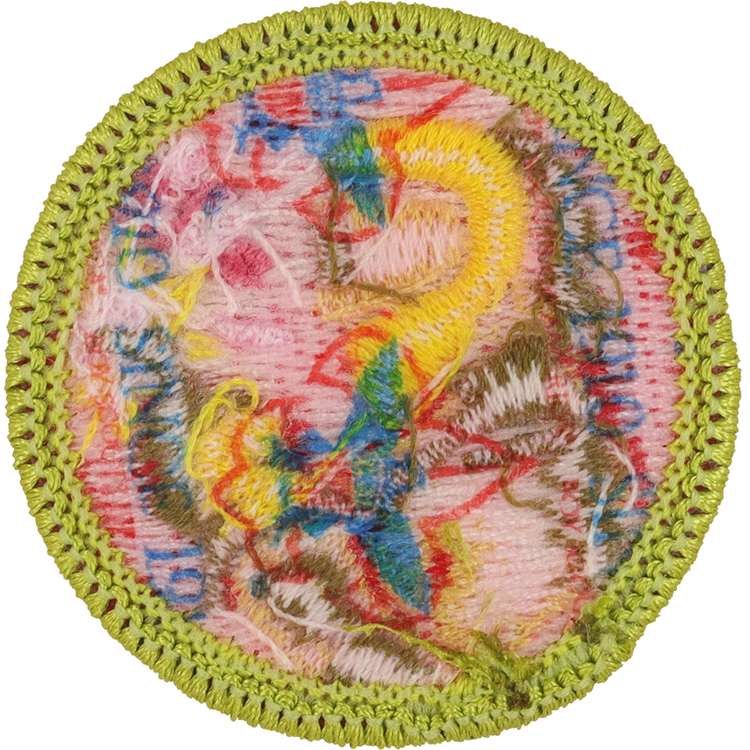
Fig. 2: Weldin-L1-Reverse
- Back: Since 1910 imprint with large Tenderfoot image
Item Name: Welding 2014 - Current
Item ID: Weldin-L1
Collector Rating: 1
Pamphlets Used to Earn this Badge

Requirements January 2012 until January 2019
1. Do the following:
- Explain to your counselor the hazards likely to encounter while welding, and what you should do to anticipate, help prevent, mitigate, or lessen these hazards.
- Show that you know first aid for, and the prevention of, injuries or illness that could occur while welding, including electrical shock, eye injuries, burns, fume inhalation, dizziness, skin irritation, and exposure to hazardous chemicals, including filler metals and welding gases.
2. Do the following:
- With your counselor, discuss general safety precautions and Material Safety Data Sheets related to welding. Explain the importance of the MSDS.
- Describe the appropriate safety gear and clothing that must be worn when welding. Ten, present yourself properly dressed for welding – in protective equipment, clothing and footwear.
- Explain and demonstrate the proper care and storage of welding equipment, tools, and protective clothing and footwear.
3. Explain the terms welding, electrode, slag, and oxidation. Describe the welding process, how heat is generated, what kind of filler metal is added (if any), and what protects the molten metal from the atmosphere.
4. Name the different mechanical and thermal cutting methods. Choose one method and describe how to use the process. Discuss one advantage and one limitation of this process.
5. Do the following:
- Select two welding processes, and make a list of the different components of the equipment required for each process. Discuss one advantage and one limitation for each process.
- Choose one welding process. Set up the process you have chosen, including gas regulators, work clamps, cables, filler materials, and equipment settings. Have your counselor inspect and approve the area for the welding process you have chosen.
6. After successfully completing requirements 1 through 5, use the equipment you prepared for the welding process in 5b to do the following:
- Using a metal scribe or soapstone, sketch your initial onto a metal plate, and weld a bead on the plate following the pattern of you initial.
- Cover a small plate (approximately 3” x3” x ¼”) with weld beads side by side.
- Tack two plates together in a square groove butt joint.
- Weld the two plates together from 6c on both sides.
- Tack two plates together in a T joint, have your counselor inspect it, then weld a T joint with fillet weld on both sides.
- Tack to plates together in a lap joint, have your counselor inspect it, then weld a lap joint with fillet on both sides.
7. Do the following:
- Find out about three career opportunities in the welding industry. Pick one and find out the education, training, and experience required for this profession. Discuss this with your counselor, and explain why the profession might interest you.
- Discuss the role of the American Welding Society in the welding profession.
Requirements January 2019 until Current
1. Do the following:
- Explain to your counselor the hazards likely to encounter while welding, and what you should do to anticipate, help prevent, mitigate, or lessen these hazards.
- Show that you know first aid for, and the prevention of, injuries or illness that could occur while welding, including electrical shock, eye injuries, burns, fume inhalation, dizziness, skin irritation, and exposure to hazardous chemicals, including filler metals and welding gases.
2. Do the following:
- With your counselor, discuss general safety precautions and Safety Data Sheets related to welding. Explain the importance of the SDS.
- Describe the appropriate safety gear and clothing that must be worn when welding. Ten, present yourself properly dressed for welding – in protective equipment, clothing and footwear.
- Explain and demonstrate the proper care and storage of welding equipment, tools, and protective clothing and footwear.
3. Explain the terms welding, electrode, slag, and oxidation. Describe the welding process, how heat is generated, what kind of filler metal is added (if any), and what protects the molten metal from the atmosphere.
4. Name the different mechanical and thermal cutting methods. Choose one method and describe how to use the process. Discuss one advantage and one limitation of this process.
5. Do the following:
- Select two welding processes, and make a list of the different components of the equipment required for each process. Discuss one advantage and one limitation for each process.
- Choose one welding process. Set up the process you have chosen, including gas regulators, work clamps, cables, filler materials, and equipment settings. Have your counselor inspect and approve the area for the welding process you have chosen.
6. After successfully completing requirements 1 through 5, use the equipment you prepared for the welding process in 5b to do the following:
- Using a metal scribe or soapstone, sketch your initial onto a metal plate, and weld a bead on the plate following the pattern of you initial.
- Cover a small plate (approximately 3” x3” x ¼”) with weld beads side by side.
- Tack two plates together in a square groove butt joint.
- Weld the two plates together from 6c on both sides.
- Tack two plates together in a T joint, have your counselor inspect it, then weld a T joint with fillet weld on both sides.
- Tack to plates together in a lap joint, have your counselor inspect it, then weld a lap joint with fillet on both sides.
7. Do the following:
- Find out about three career opportunities in the welding industry. Pick one and find out the education, training, and experience required for this profession. Discuss this with your counselor, and explain why the profession might interest you.
- Discuss the role of the American Welding Society in the welding profession.