-
Merit Badges
- Legend to identify Merit Badges
- 1910 British Merit Badges
- Square 1911 - 33
- Wide Crimped 1934 & 35
-
Narrow Tan Crimped 1936 - 42
- Tan Heavyweight Cloth with Silk Embroidery and Printed Back 1936 - 37
- Tan Heavyweight Cloth with Silk Embroidery and Plain Back 1937 - 38
- Tan Lightweight Cloth with Silk Embroidery and Plain Back 1938 - 39
- Tan Lightweight Cloth with Cotton Continuous Loop Embroidery and Plain Back 1939 - 42
- Tan Lightweight Cloth with Cotton Lockstitch Embroidery and Plain Back 1939 - 42
- Blue Background 1942 - 46
- Wartime 1942 - 46
- Khaki Narrow Crimped 1946 - 59
- Green Twill Gauze Back 1960 - 68
- Fully Embroidered Merrowed Edge 1960 - 72
- Unprinted Plastic Back 1972 - 01
- Printed Plastic Back 2002 - Current
-
Merit Badge Paper
- Merit Badge Applications
- Merit Badge Cards
-
Merit Badge Pamphlets
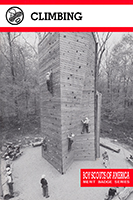
- Type 1 White Cover - Rectangle Drawing On Cover
- Type 2 White Cover 5-375" x 8" Title at Top
- Type 3A Tan Cover - 200 Fifth Avenue
- Type 3B Tan Cover - 2 line address New York City
- Type 3C Tan Cover - 2 line address New York N.Y.
- Type 3D Tan Cover - 1 line address New York N.Y.
- Type 4 Standing Scout Cover
- Type 5A War Cover
- Type 5B Red and White
- Type 6 Photo-Red Cover
- Type 7 Full Photo Cover or Bulls-eye Cover
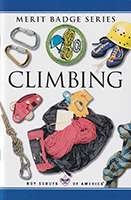
- Type 8 Full Photo - Green Stripe Cover
- Type 9 Full Photo - Red Stripe Cover
- Type 10A Blue Stripe - Logo above bottom blue stripe - FDL centered
- Type 10B - Blue Stripe in bottom of photo area. FDL to left of text
- Special Covers
- Boy Craft Helps
- Merit Badge Counselor's Guides
-
Youth Position
- Junior Assistant Scoutmaster
- Senior Patrol Leader
- Assistant Senior Patrol Leader
- Patrol Leader
- Assistant Patrol Leader
- Troop Guide
- Scribe
- Quartermaster
- Instructor
- Chaplain Aide
- Den Chief
- Librarian
- Musician
- Webmaster
- Bugler
- Troop Historian
- Troop Representative
- Unit Representative
- Leadership Corps
- Honor Guard
- Leave No Trace Trainer
- Outdoor Ethics Guide
-
Patrol Medallions
- Patrol Medallions Introduction
- Legend to identify Patrol Medallions
- Patrol Shoulder Knot-Ribbons
- Felt Handmade Patrol Medallions
- Square Felt Patrol Medallions
- Round Broadcloth Patrol Medallions
- Red Twill Patrol Medallions
- Multi-Color Cloth Patrol Medallions
- Tan Cloth Patrol Medallions
- Patrol Medallion Back Patches
- Woodbadge Patrol Medallion
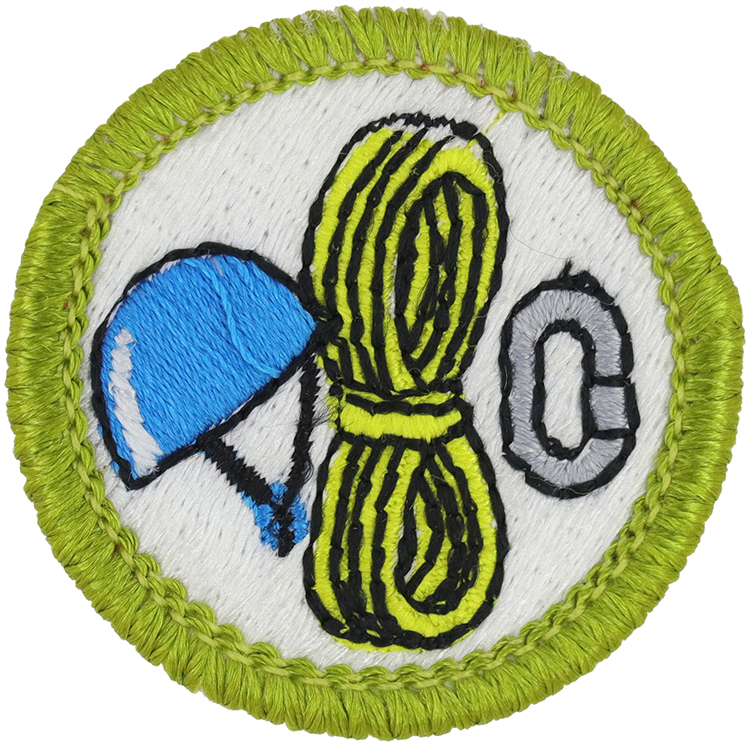
Fig. 1: Climbi-J1-Front
- Embroidery: Rayon thread
- Border: Merrowed
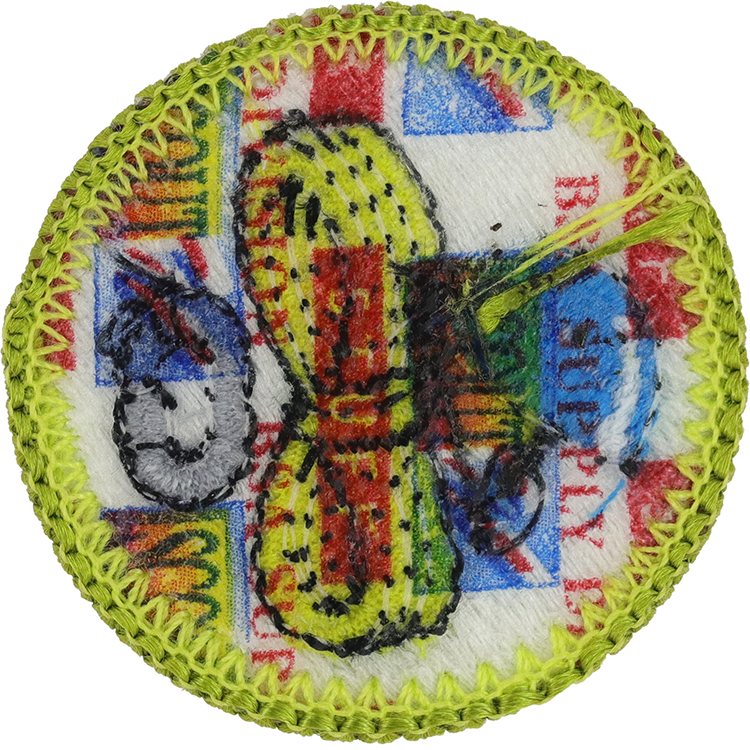
Fig. 2: Climbi-J1-Reverse
- Back: Scout Stuff imprint
Item Name: Climbing 2002 - 2009
Item ID: Climbi-J1
Collector Rating: 1
Pamphlets Used to Earn this Badge

Requirements January 2000 until January 2007
1. Show that you know first aid for injuries or illness that may occur during climbing activities, including hypothermia, blisters, sprains, snakebite, abrasions, fractures, and insect bites and sting.
2. Identify the conditions that must exist before performing CPR on a person. Demonstrate proper technique in performing CPR using a training device approved by your counselor.
3. Present yourself properly dresses for belaying, climbing, and rappelling (i.e., appropriate clothing, footwear, and a helment; rappellers must also wear gloves).
4. Do the following:
(a) Explain how the difficulty of climbs is classified and apply the classifications to the rock faces or walls where you will demonstrate your climbing and rappelling skills.
(b) Explain the following: top-rope climbing, lead climbing, and bouldering.
(c) Evaluate the safety of a particular climbing area. Consider weather, visibility, the condition of the climbing surface, and any environmental hazards.
(d) Determine how to summon aid to the climbing area in case of an emergency.
5. Verbal Signals. Explain the importance of using verbal signals during every climb and rappel, and while bouldering. With the help of the merit badge counselor or another Scout, demonstrate the verbal signals used by each of the following:
(a) Climbers
(b) Rappellers
(c) Belayers
(d) Boulderers and their spotters
6. Rope. Do the following:
(a) Describe the kind of rope acceptable for use in climbing and rappelling.
(b) Show how to examine a rope for signs of wear or damage.
(c) Discuss ways to prevent a rope from being damaged.
(d) Explain when and how a rope should be retired.
(e) Properly coil a rope.
7. Knots. Demonstrate the ability to tie each of the following knots. Give at least one example of how each knot is used in belaying, climbing, or rappelling.
(a) Figure eight on a bight
(b) Figure eight follow-through
(c) Water knot
(d) Double fisherman’s knot (Grapevine knot)
8. Harnesses. Correctly put on at least ONE of the following:
(a) Commercially made climbing harness
(b) Tied harness
9. Belaying. Do the following:
(a) Explain the importance of belaying every climber and rappeller.
(b) Belay three different climbers ascending a rock face or climbing wall.
(c) Belay three different rappellers descending a rock face or rappel wall.
10. Climbing. Do the following:
(a) Show the correct way to tie into a belay rope.
(b) Climb at least three different routes on a rock face or climbing wall, demonstrating good technique and using verbal signals with a belayer.
11. Rappelling. Do the following:
(a) Using carabiners and a rappel device, secure your climbing harness rappel rope.
(b) Tie in to a belay rope set up to protect rappellers.
(c) Rappel down three different rock faces or three rappel routes on a climbing wall. Use verbal signals to communicate with a belayer, and demonstrate good rappelling technique.
12. Demonstrate ways to store rope, hardware, and other gear used for climbing, rappelling, and belaying.
Requirements January 2007 until January 2012
1. Do the following:
a) Show that you know first aid for and how to prevent injuries or illnesses that could occur during climbing activities, including heat and cold reactions, dehydration, stopped breathing, sprains, abrasions, fractures, rope Burns, blisters, snakebite, and insect bites or stings.
b) Identify the conditions that must exist before performing CPR on a person.
2. Learn the Leave trace principles and Outdoor Code, and explain what they mean.
3. Present yourself properly dressed for belaying, climbing, and repelling (i.e., appropriate clothing, footwear, and a helmet; rappellers and belayers is must also wear gloves).
4. Location. Do the following:
a) Explain how the difficulty of climbs is classified, and apply classifications to the rock faces or walls where you will demonstrate your climbing skills.
b) Explain the following: top rope climbing, lead climbing, and bouldering.
c) Evaluate the safety of a particular climbing area. Consider weather, visibility, the condition of the climbing surface, and other environmental hazards.
d) Determine how to summon aid to the climbing area in case of emergency.
5. Verbal signals. Explain the importance of using verbal signals during every climb and rappel, and while bouldering. With the help of the merit badge counselor or another Scout, demonstrate the verbal signals used by each of the following:
a) Climbers
b) Reppellers
c) Belayers
d) Boulderers and their spotters
6. Rope. Do the following:
a) Describe the kinds of rope acceptable for use in climbing and rappelling.
b) Show how to examine a rope for signs of wear or damage.
c) Discuss ways to prevent a rope from being damaged.
d) Explain when and how a rope should be retired.
e) Properly coil a rope.
7. Knots. Demonstrate the ability to tie each of the following knots. Give at least one example of how each knot is used in belaying, climbing, and rappelling.
a) Figure eight on a bight
b) Figure eight follow-through
c) Water knot
d) Double fisherman’s knot (grapevine knot)
e) Safety knot
8. Harnesses. Correctly put on at least one of the following:
a) Commercially made climbing harness
b) Tied harness
9. Belaying. Do the following:
a) Explain the importance of belaying climbers and propellers and when it is necessary.
b) Belay three different climbers ascending a rock face or climbing wall.
c) Delay three different propellers descending a rock face or climbing wall using a top rope.
d) Do the following:
e) Show the correct way to directly tie into a belay rope.
f) Climb at least three different routes on a rock face or climbing wall, demonstrating good technique and using verbal signals with a belayer.
10. Rappelling. Do the following:
a) Using a carabiner and a rappel device, secure your climbing harness to a rappel rope.
b) Tie into a belay rope set up to protect propellers.
c) Rappel down three different rock faces or three rappel routes on a climbing wall. Use verbal signals to communicate with a belayer, and demonstrate good rappelling technique.
11. Demonstrate ways to store rope, hardware, and other gear used for climbing, rappelling, and belaying.